

Steps to Transition Website
Trevor Nared • Jul 30, 2019
In order to assist you in your website migration to the new WebFCA Platform, we have created some steps to help ensure that the process is efficient and effective for you:
Step 1 – Fill out the WebFCA Transition Form
- Fill out the WebFCA Transition Form found by clicking here.
Step 2 – Determine what needs to be transferred to your new site
- Over the years, your website can become bloated with outdated information. This is a great time to determine what you need and what can go away.
Step 3 – Explore the Help Documentation
- Please see the training documentation at FCA.Technology
- There are some new tools that will assist you in creating a great looking and functional website. We recommend checking out the FCA template Sections and the various widgets that are available to utilize on your website.
Step 4 - Transfer of images and documents
- Your photos and documents will be transferred for you.
- When adding an image element, you will see all your images in the selector. You will see your documents when you try to link to a document for download.
Step 5 - Recreate Pages to the new site
- Add sections and widgets to your page to insert content.
- You may rearrange or hide your pages in the navigation.
- Please see the training documentation on Page Management.
Step 6 - Transfer of Forms
- Be sure that you download all form data from the current site before re-creating the forms on the new WebFCA platform. Once we complete the transition, your old form data will be deleted along with the website.
- You will need to recreate any forms on your page. Please see the training documentation to learn how to utilize the Form widget on your page.
Step 7 - Transfer of Blog Content
- If you have any blog content, you will need to copy that content over to your site. If you have any pictures in the content, you should see those images already transferred for you.
Step 8 – Transfer Video Embed
- YouTube and Vimeo integration is built into the WebFCA platform, so you can include any videos that you have on your page without any code.
- Please see the Video Widget guide
Step 9 - Link Donation links to a Donation/Staff Page or your MyFCA page
- If you have any Staff or Area myFCA donation links on your current site, be sure to add/update any Donation links on your new website.
Step 10 - Change any address, email, and contact links
- Your website will have some areas to give users a way to contact you. Make sure to have this information updated on your website.
Step 11 – Review and transition your website
- When you have completed the transfer and ready to transition your website, please email the Web Manager, Trevor Nared.
- The WebFCA manager will review your page and transfer the Domain to your new site for you. You will be contacted when the process has been completed.
Step 12 - Transfer Complete
- Once your Domain has been transferred to your new site, you will have 2 weeks to access your old website to remove any remaining content before that site is deleted.
- Any charges associated with the old site will stop.
Recent Posts
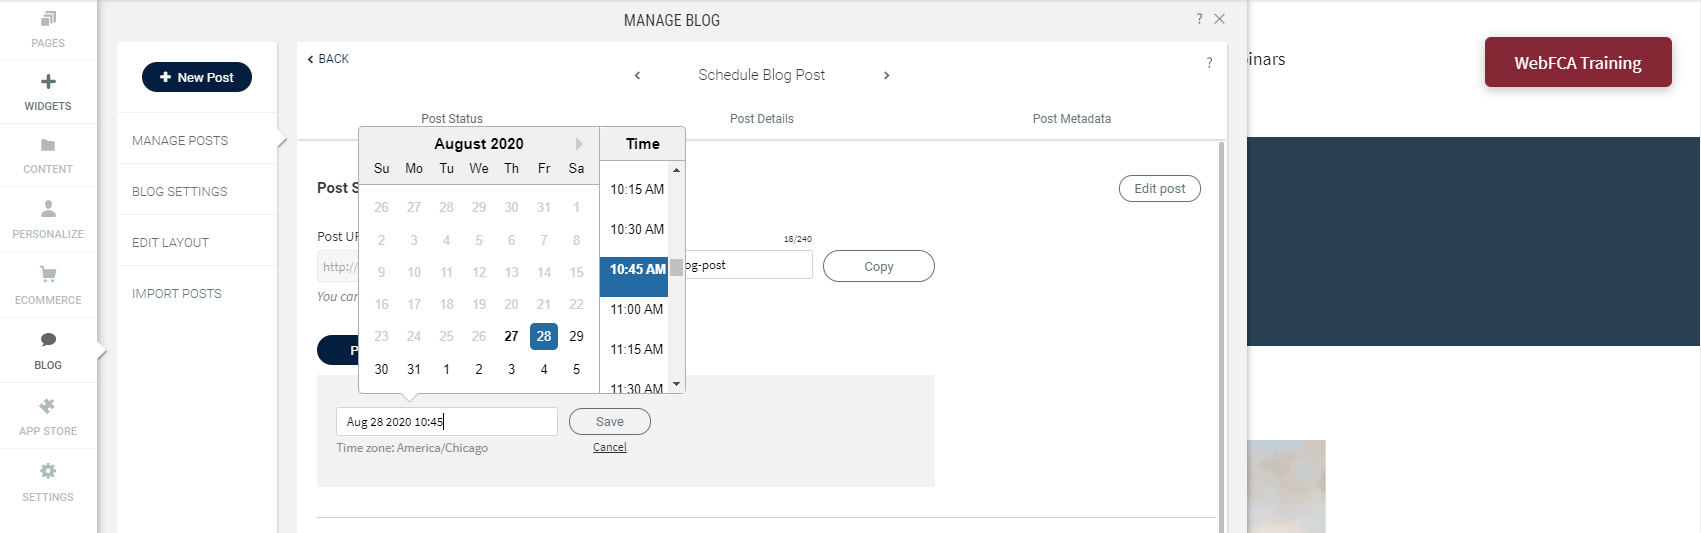
Publishing fresh content on your sites on a regular basis is important for bringing new and returning visitors to your sites. With the new Schedule Blog Post capability, you’ve got a content management tool built right into your blog. 1) To schedule a blog post, click on Blog --> Manage Posts --> Post Settings
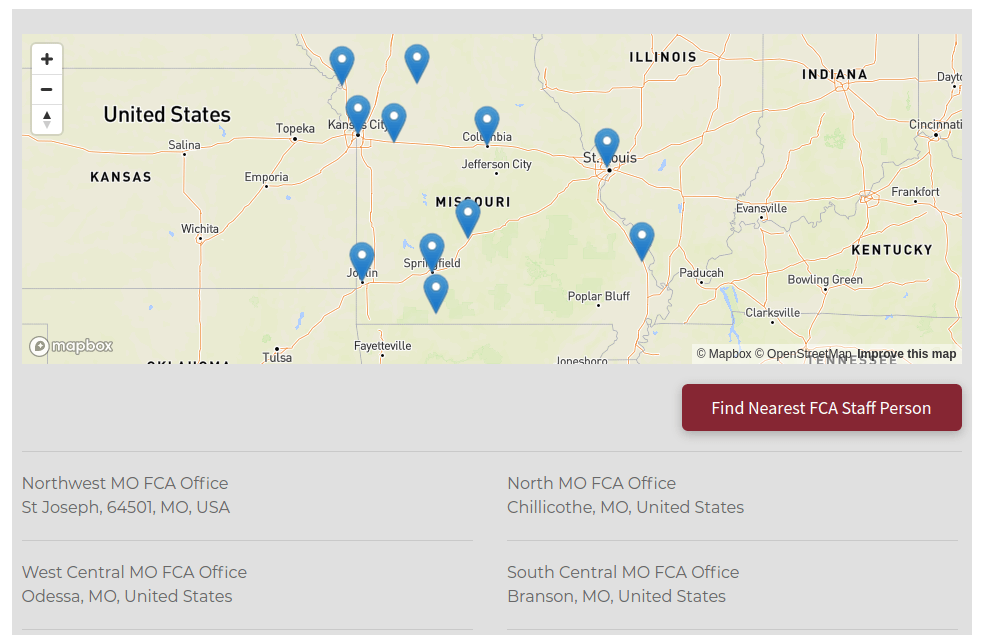
1) In the left panel, click Widgets and drag the Multi Location Widget onto your page.

Site Overview is your new site management tool, designed to tell each site’s story at a glance. Use this guide to help you understand the various stat panels to help you make sense of the performance of your website.

Contact Info
Address: 8701 Leeds Rd,
Kansas City, MO 64129
Phone: 800-289-0909