

Hero Unit Best Practices
Trevor Nared • Oct 28, 2019
The Hero Unit is one of the first impressions that users may have regarding your ministry, events, or camps. With the many options to customize your Hero Unit in the WebFCA platform it is important to capitalize on that first impression on your website. This guide should help assist you to avoid any usability issues on your website to ensure a great first impression.
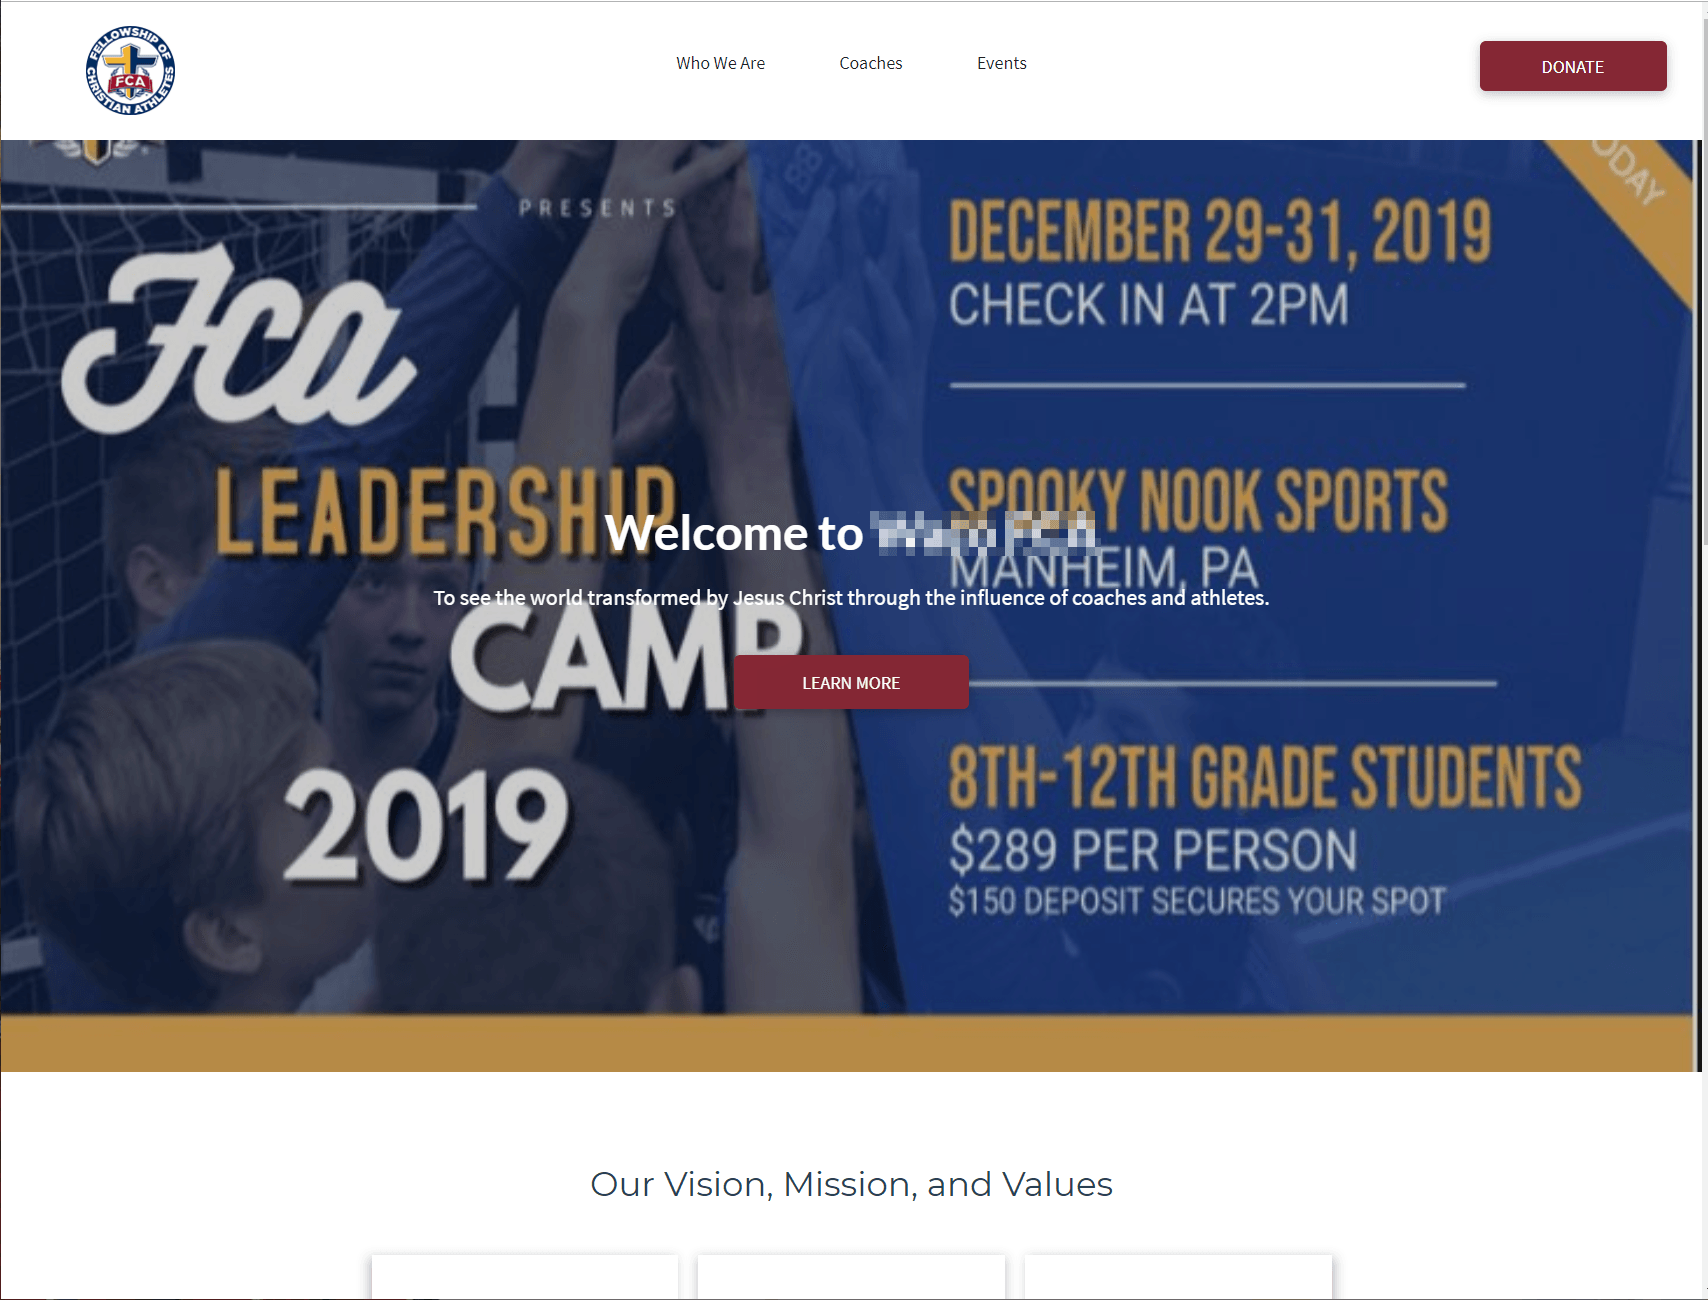
1) Avoid Text in the Image
Text in images have a hard time scaling on all devices and may become unreadable on mobile devices. It is better to have the information presented in the Text Widget in the Hero Unit.
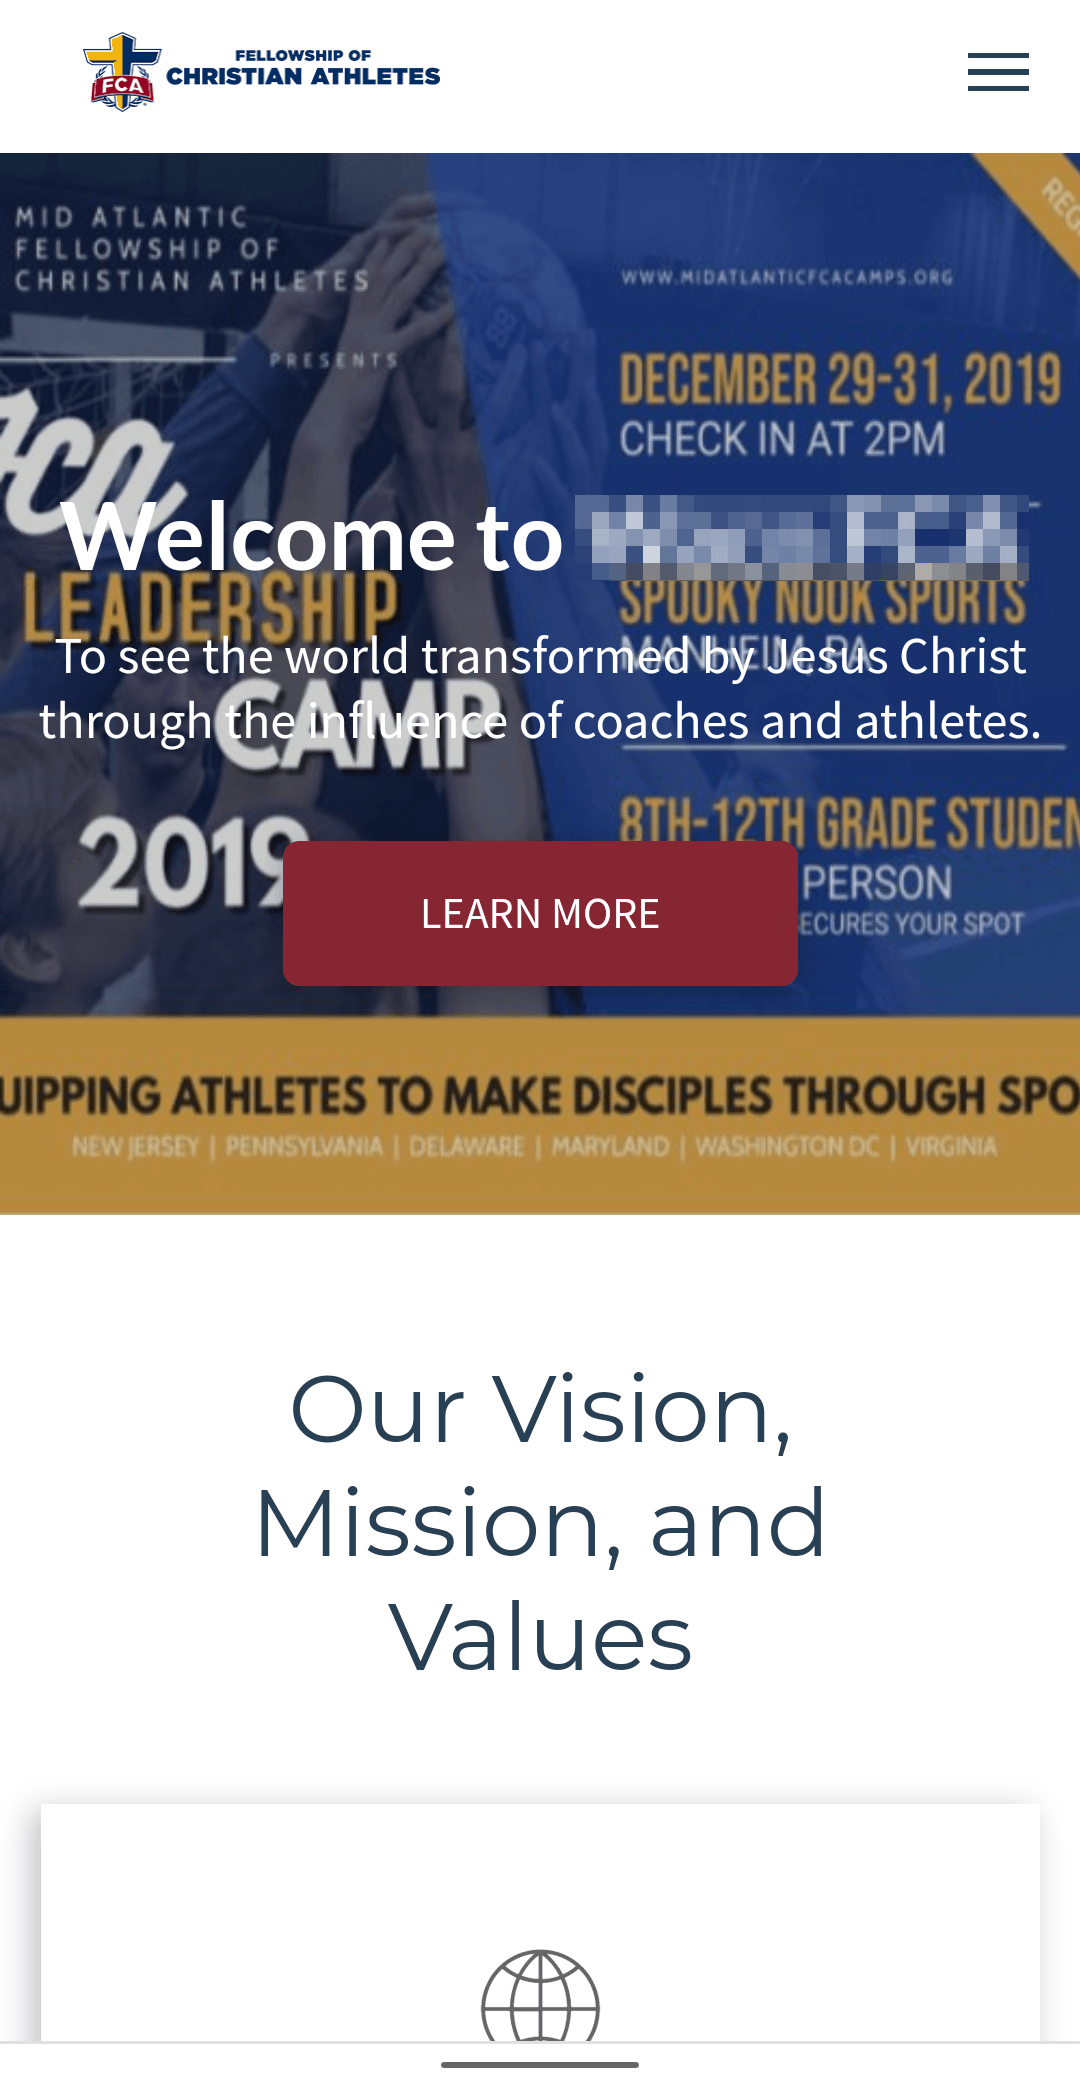
2) Test Hero Unit on all device sizes
Be sure to utilize the preview functionality to ensure that your Hero Unit is tested on all device sizes. Some background images may be cut off at various device sizes. Also note that video backgrounds will not show on mobile devices, so having a background image will be required on those devices.
3) Utilize free images on FCAResources.com
A great resources to get high quality background images is the Camp Season photos that can be found on FCAResources.com
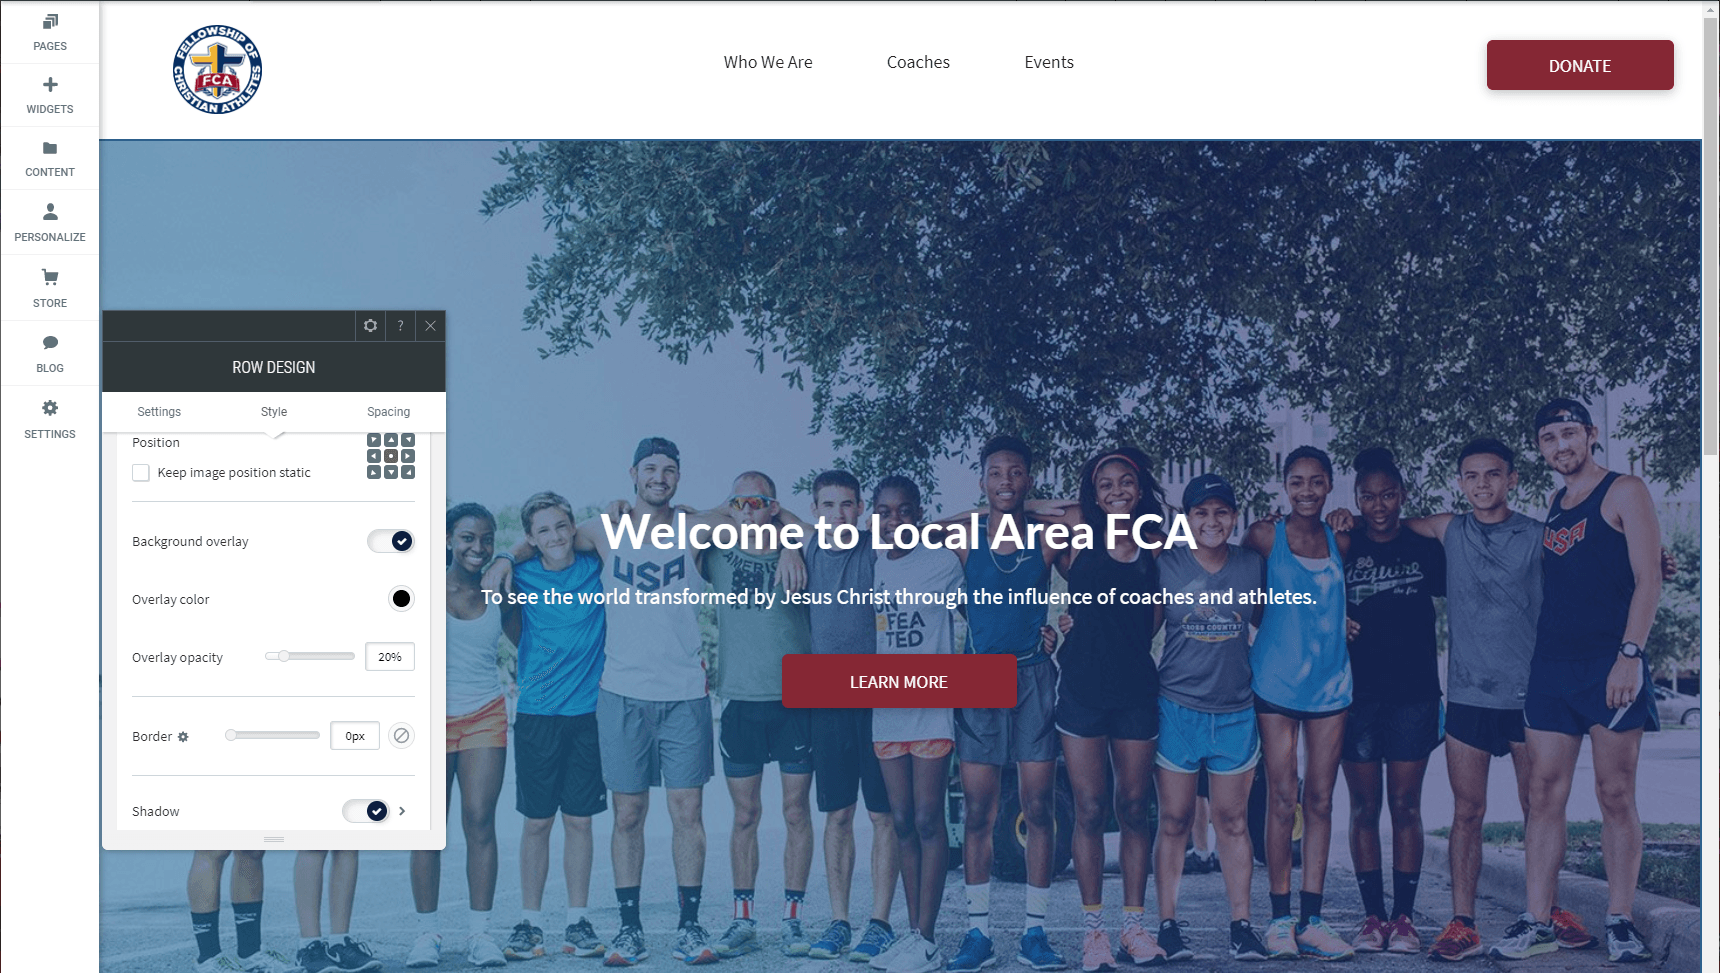
4) Make sure text is readable
With certain bright background photos, it may be difficult to see the text and/or buttons on the Hero Unit. To make the text stand out from a bright background, click on the Row Design option, select a dark Overlay color, and adjust the Overlay opacity option to increase readability.
5) Link to the appropriate page in the button
Do not feel the need to apply all information regarding an event or camp in the Hero Unit. Allow the Hero Unit to attract the user, and utilize the button to send the user to the corresponding page for more information or registration links.
6) Utilize the Hero Unit Sections
The easiest and most consistent way to utilize the Hero Unit is to use the Hero Unit Sections that are designed by FCA. They are tested Hero Units that you can customize quickly and have it look great on all devices.
Recent Posts
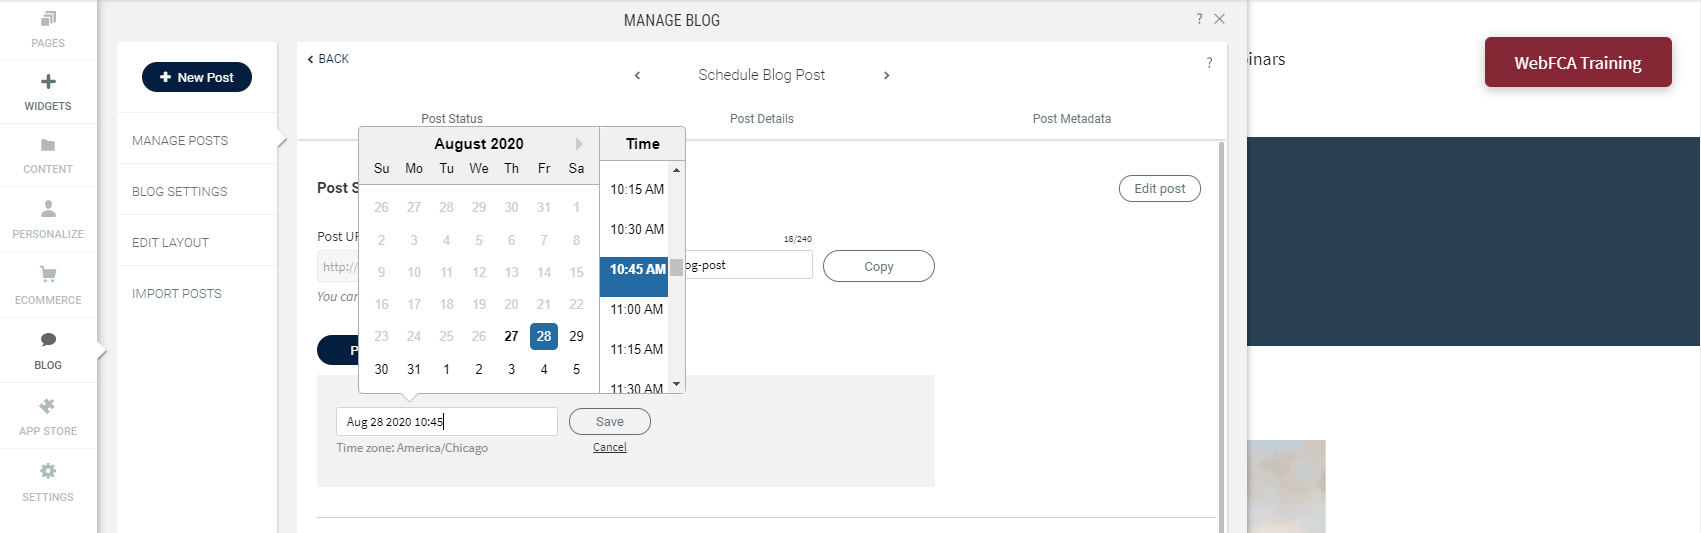
Publishing fresh content on your sites on a regular basis is important for bringing new and returning visitors to your sites. With the new Schedule Blog Post capability, you’ve got a content management tool built right into your blog. 1) To schedule a blog post, click on Blog --> Manage Posts --> Post Settings
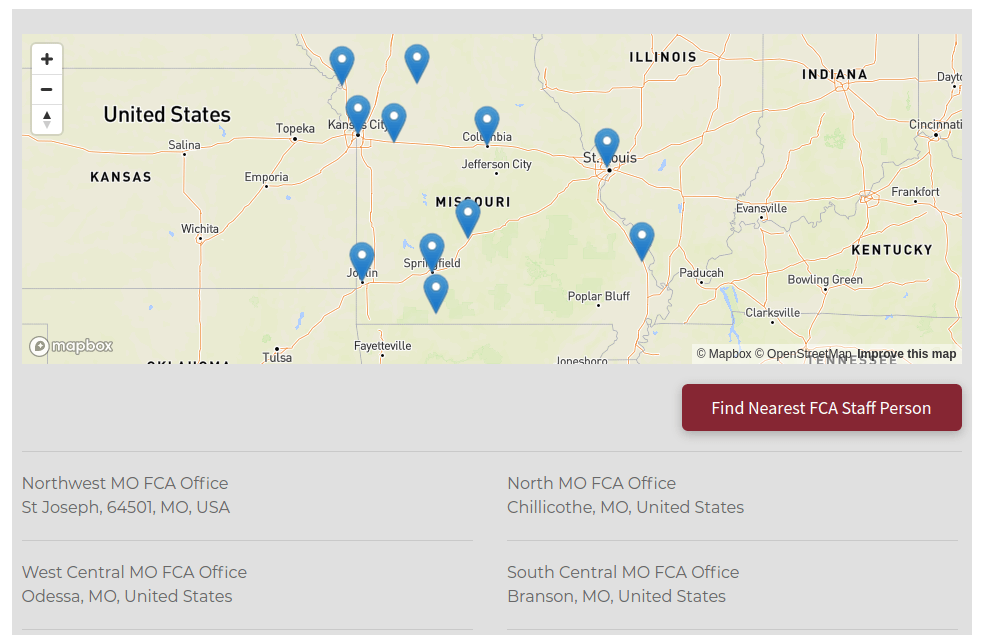
1) In the left panel, click Widgets and drag the Multi Location Widget onto your page.

Site Overview is your new site management tool, designed to tell each site’s story at a glance. Use this guide to help you understand the various stat panels to help you make sense of the performance of your website.

Contact Info
Address: 8701 Leeds Rd,
Kansas City, MO 64129
Phone: 800-289-0909